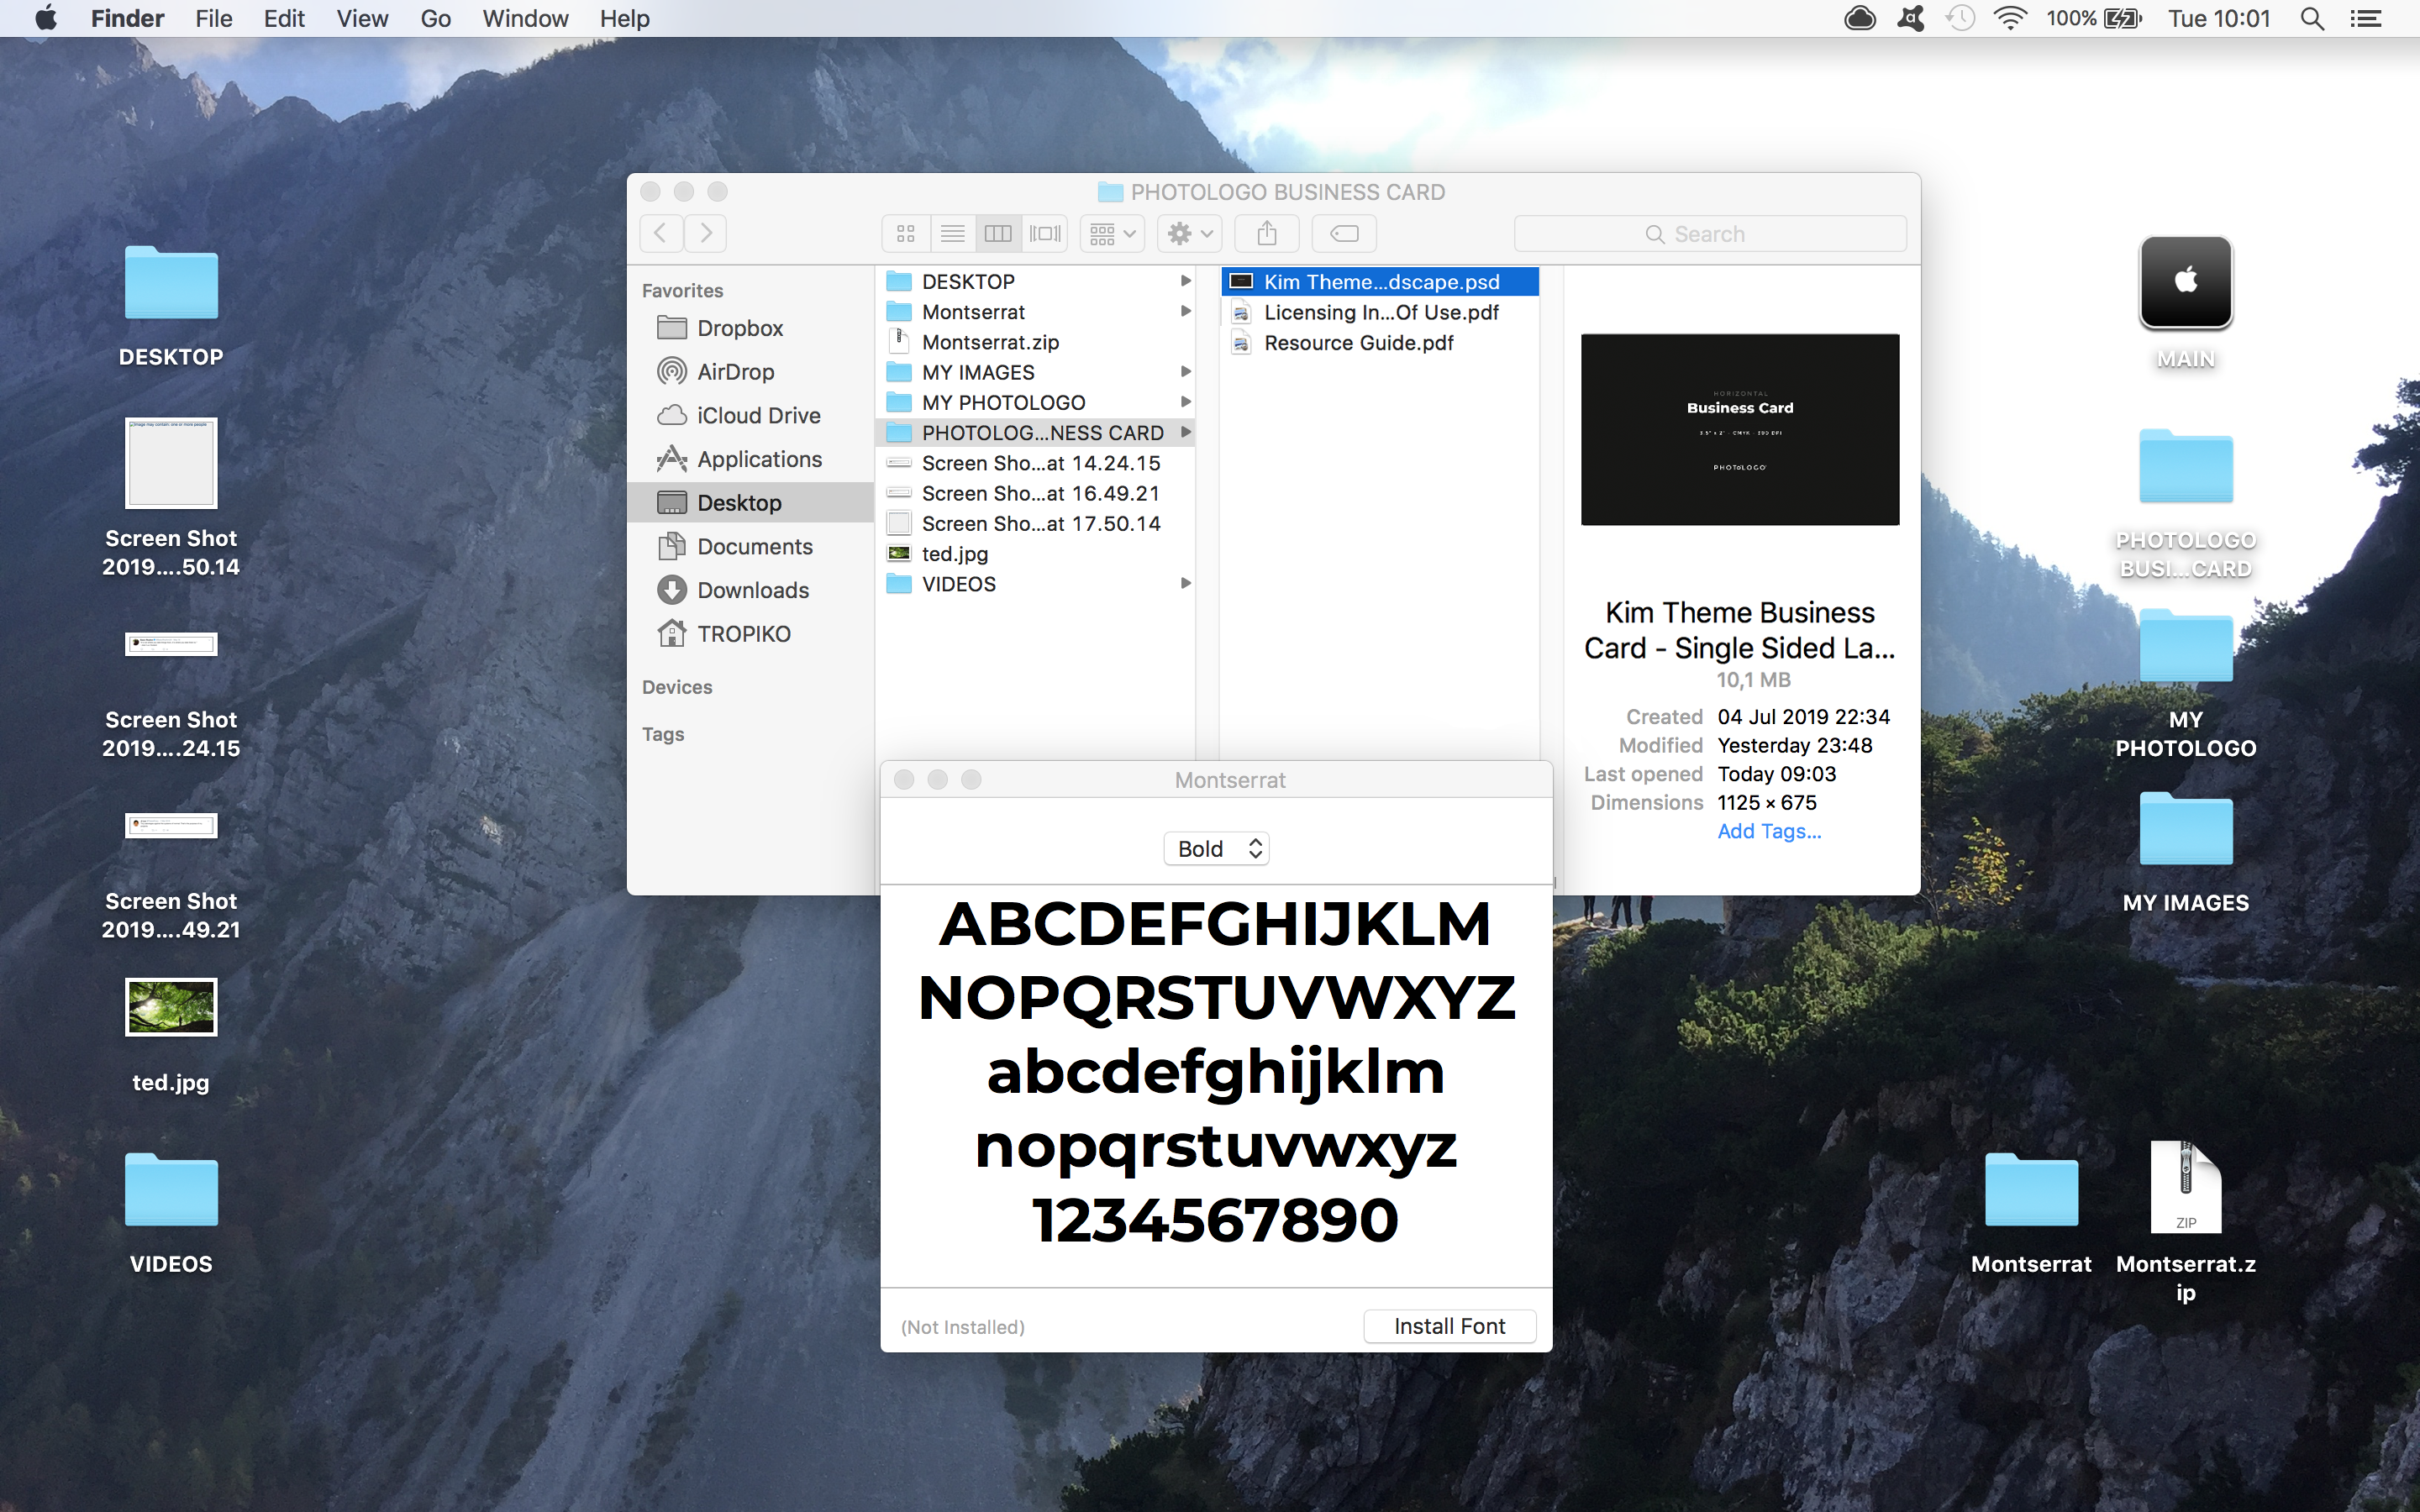
On the zip. file you’ve just downloaded, you will find your template files (in PSD format), a document containing the “Licensing Info and Terms of Use”, and a file named “Resource Guide” that includes the download links to the fonts used on your template. Read the instructions carefully.
Download and install the fonts on your computer, then launch Photoshop and open the chosen template file.
Step 2
IMPORTANT!
Before you start making any changes to your brand new template file, make sure to save your customized design AS A COPY, so you always keep a backup of the unaltered original file.
In order to do that, go to the top menu and click File > Save As.
Now rename it and choose the folder where you want to save the new file on your computer. Make sure you save it also in PSD format, just like the original one.
Step 3
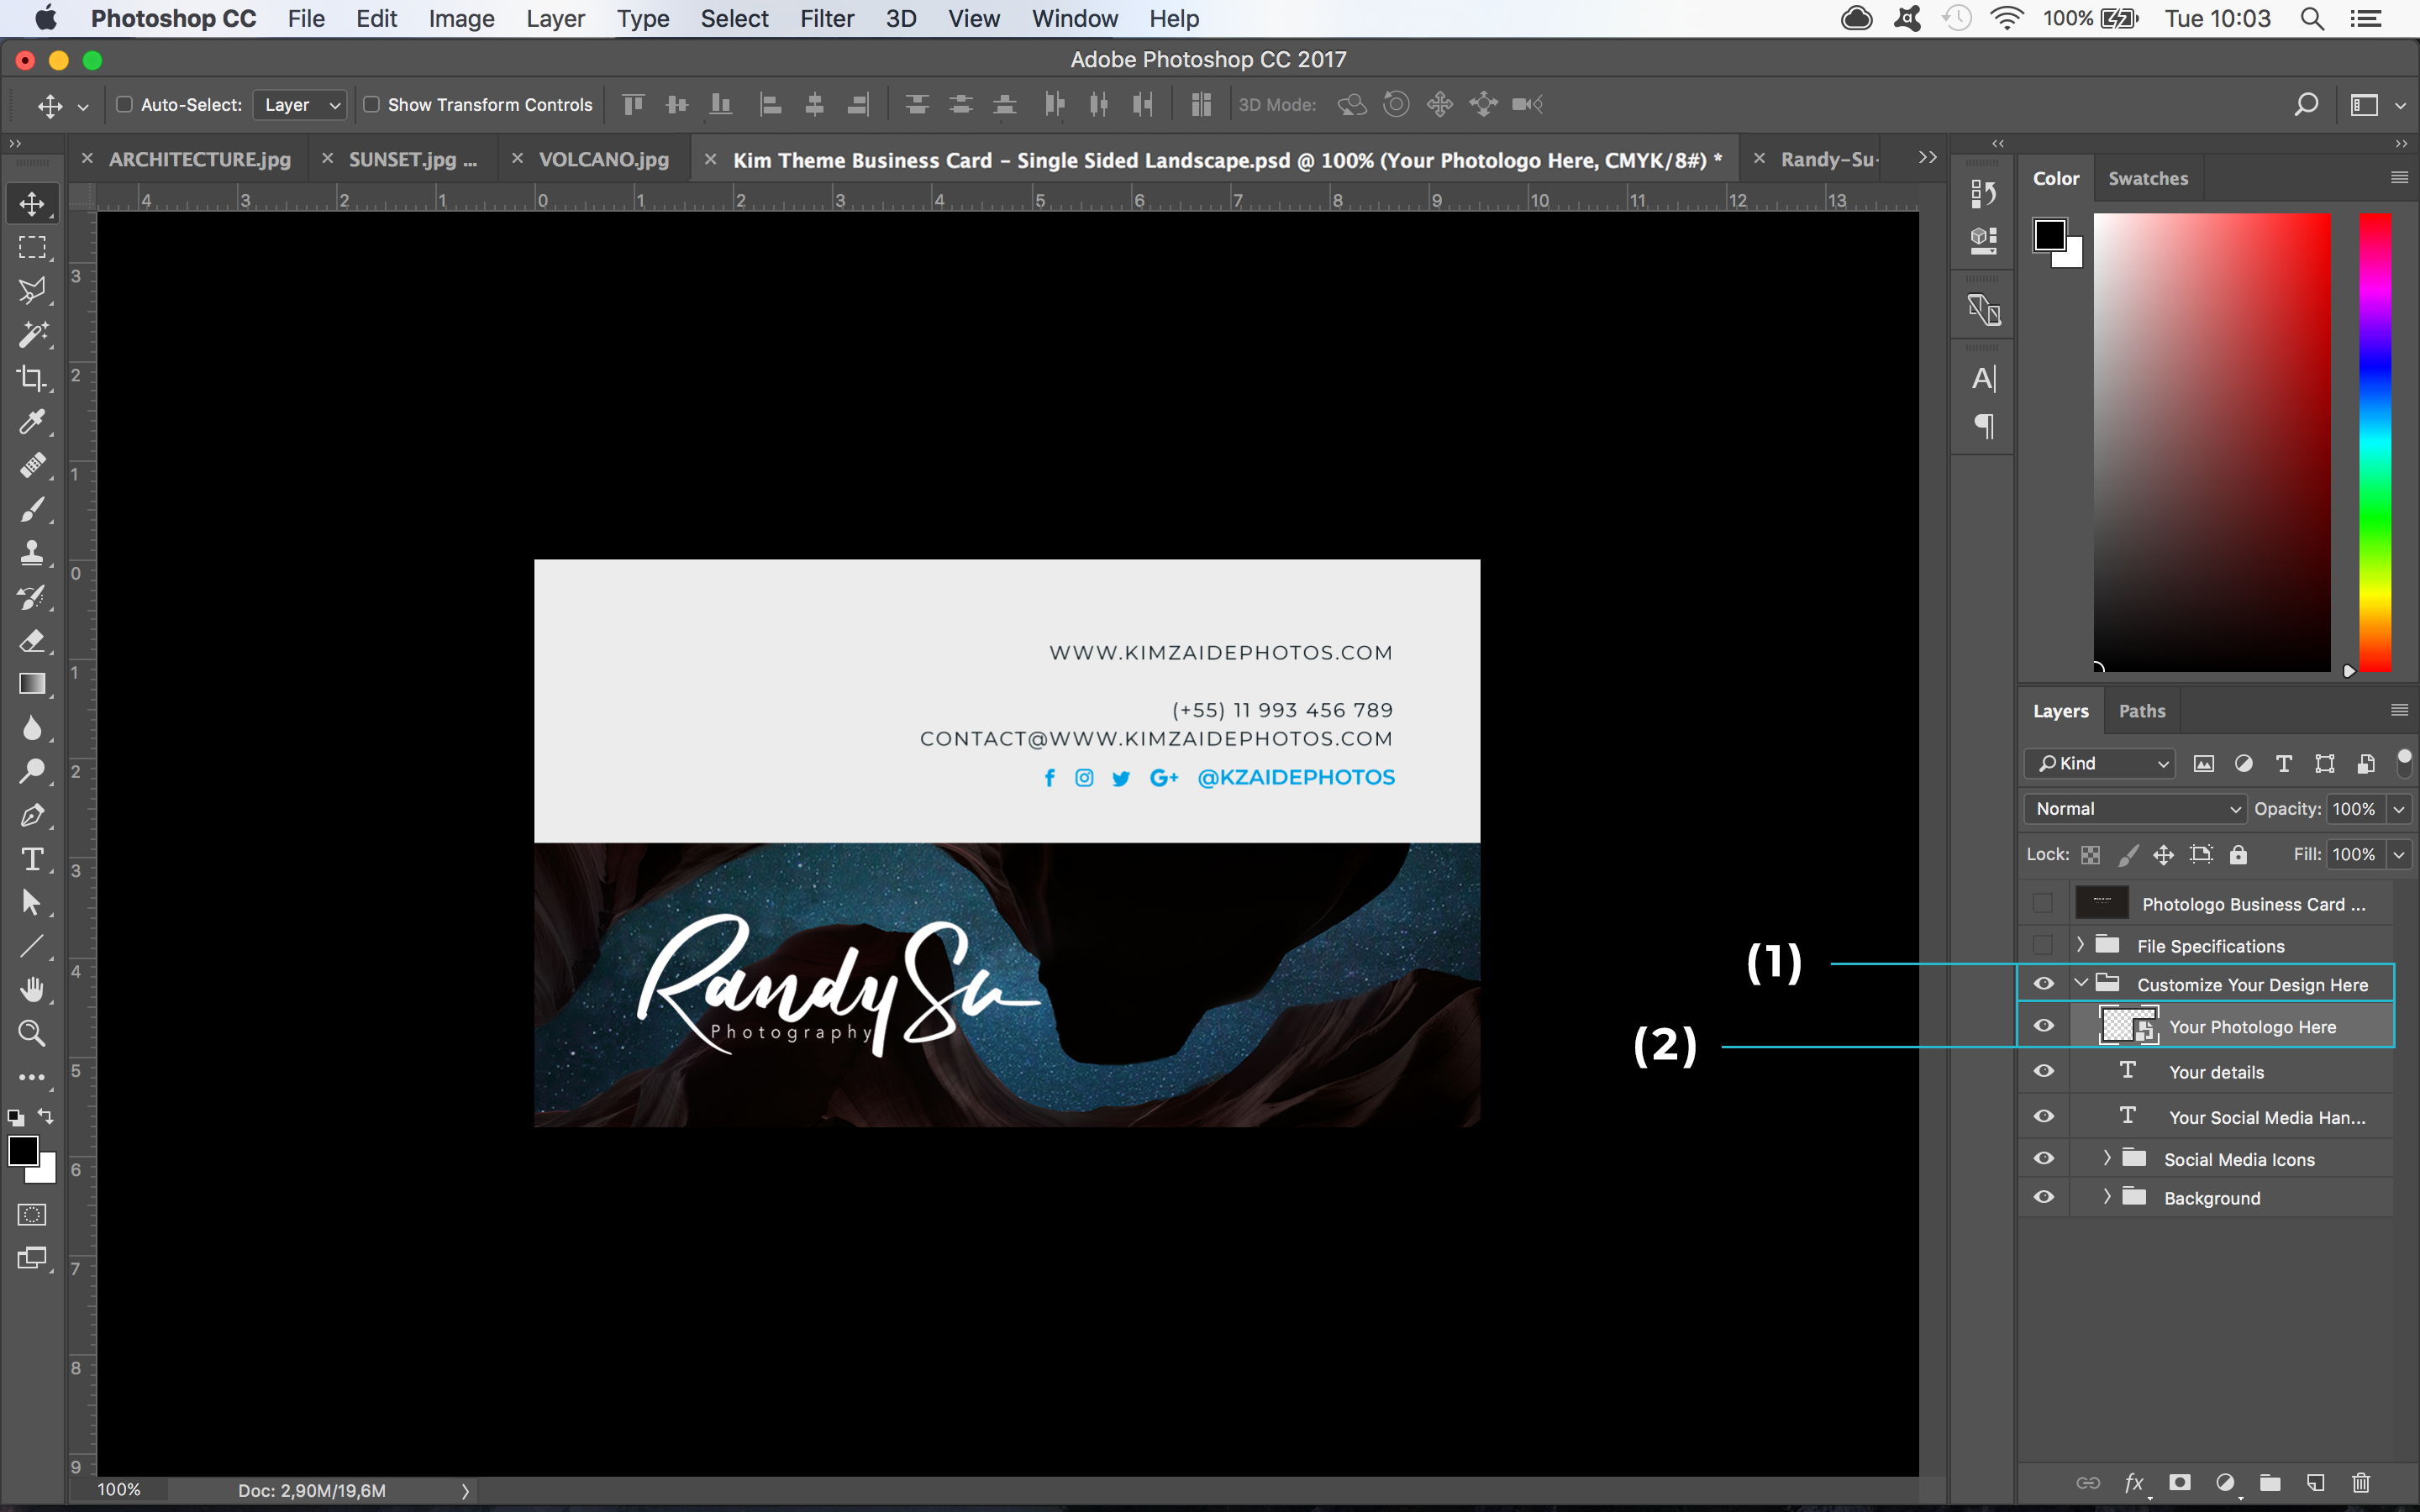
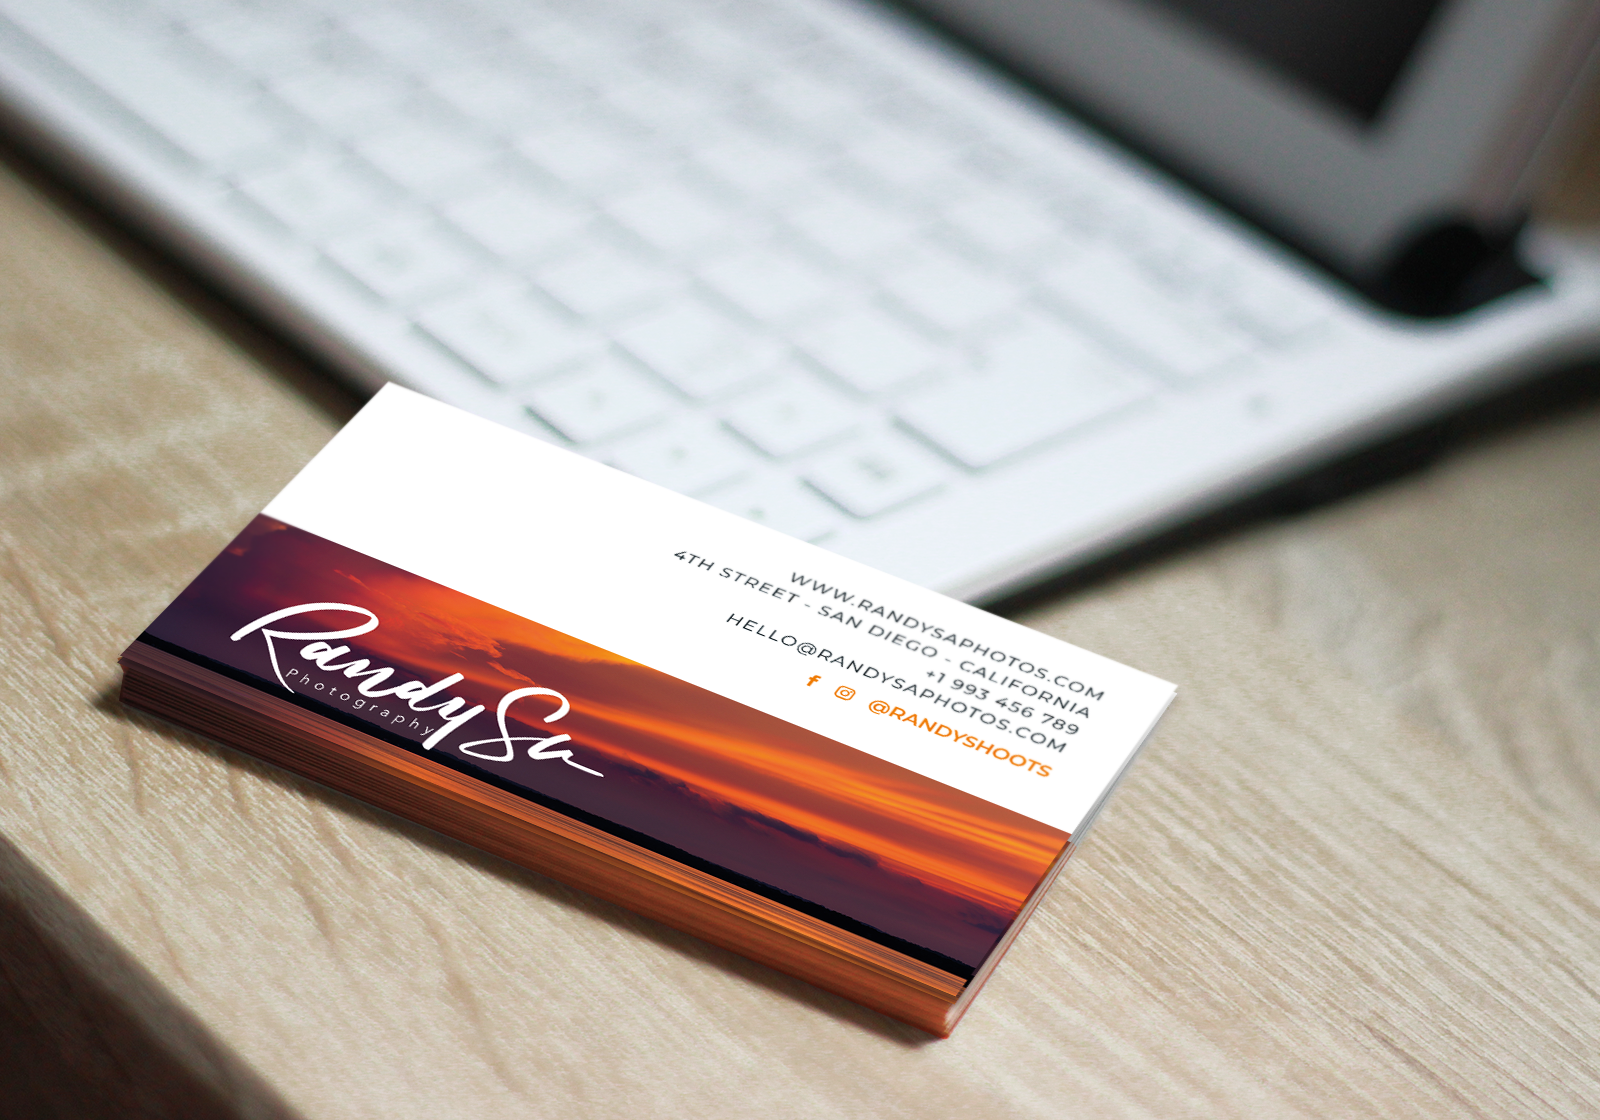
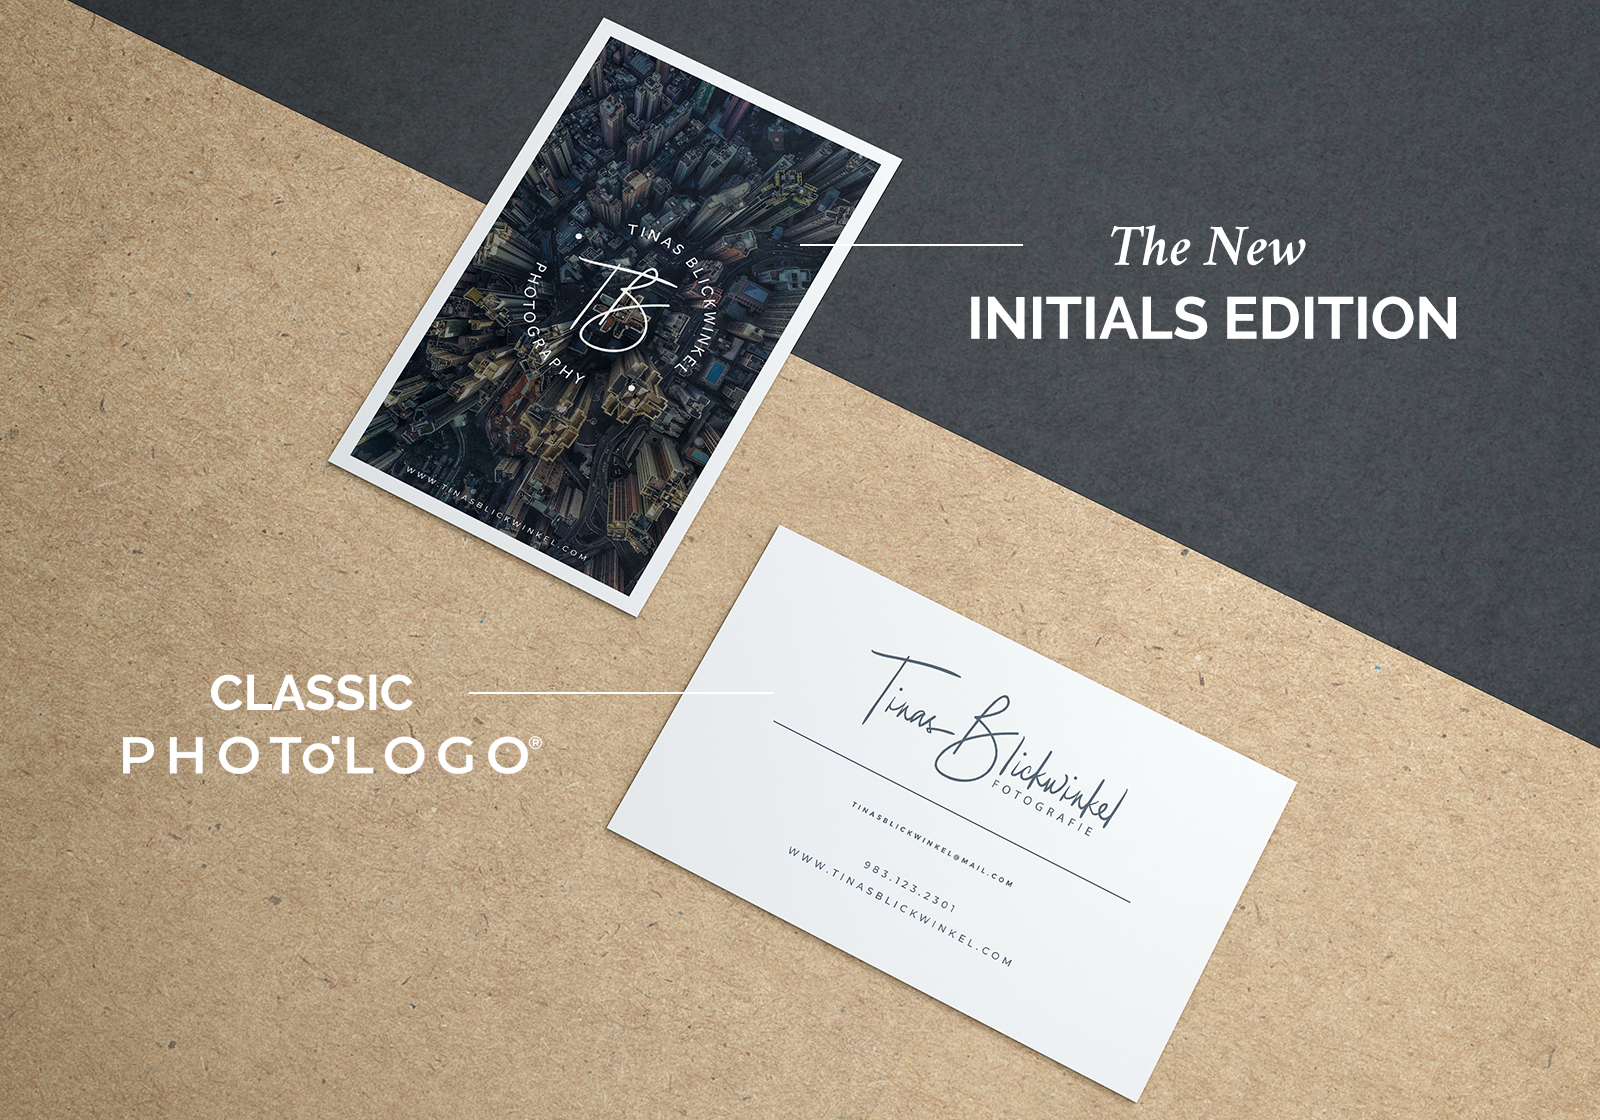
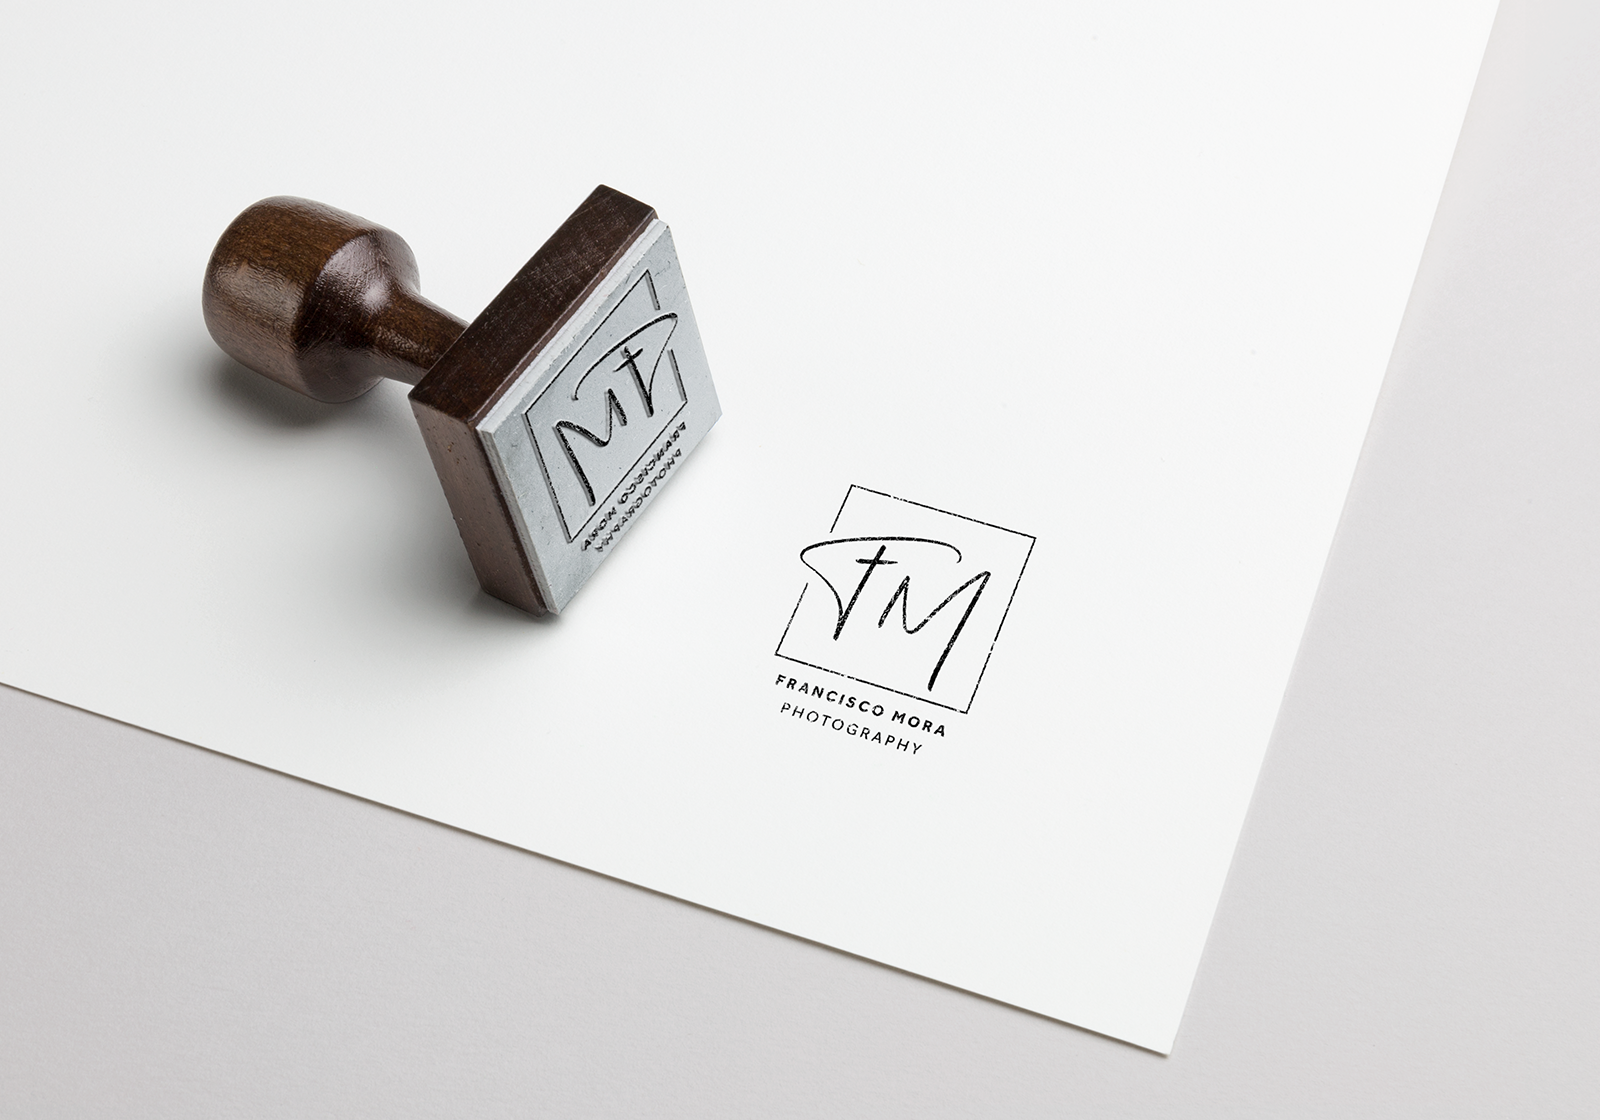
Let’s get started by placing your custom Photologo® Inside the folder Customize Your Design Here (1), find the layer named Your Photologo Here (2). Double click on the layer icon, and a separate tab with the included logo sample will appear. Replace the sample logo with your own custom Photologo, and press Ctrl+S to save it.
Go back to the template file tab and the sample Photologo should have been automatically replaced by yours. Now, adjust the size, position and opacity to your preference.
Watch our Video
Step 4
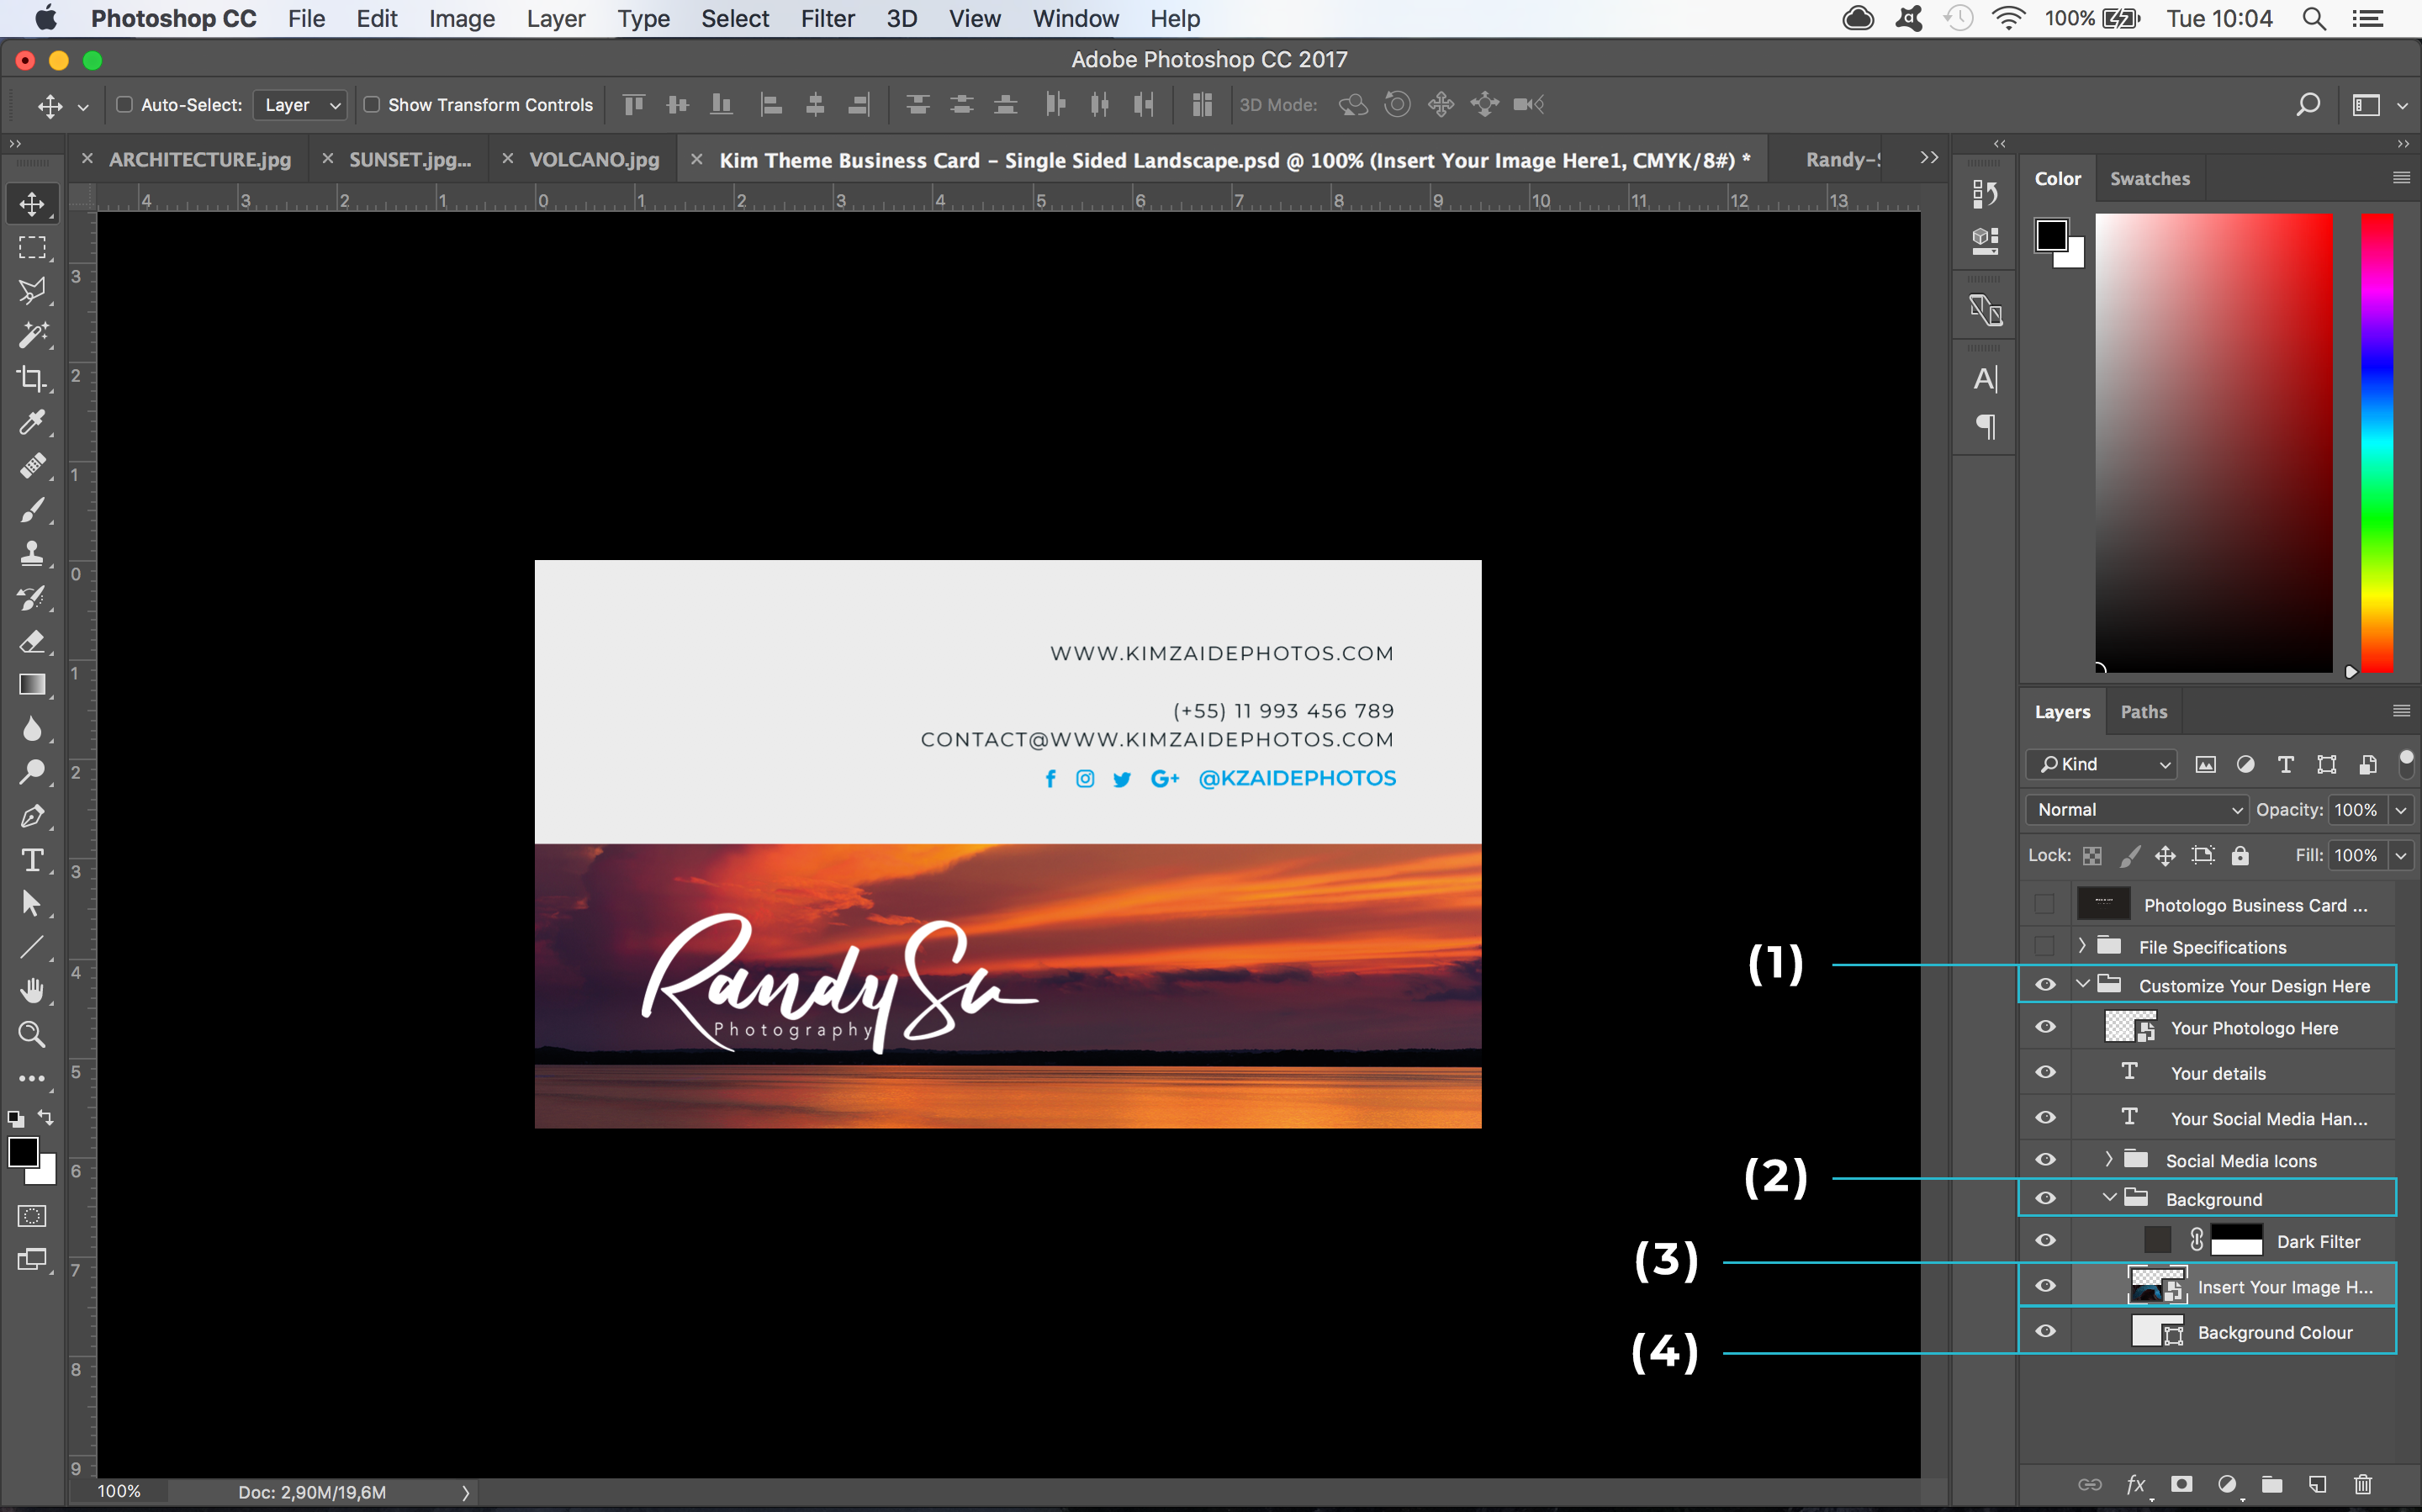
The next step is to replace the background image.
Inside the folder Customize Your Design Here (1), look for the folder named Background (2) and locatethe layer named Your Image Here (3).
Double click on the layer icon, and a separate tab with the sample image will appear.
Replace the image with your original photo, and press Ctrl+S to save it. Go back to the template file tab and the image should have been automatically updated.
If you simply want to change the background color, look for the layer Background Color (4) layer. Double click on the layer icon, and a popup with a color picker will appear. Select the desired color and click OK when you’ve found the perfect choice.
Step 5
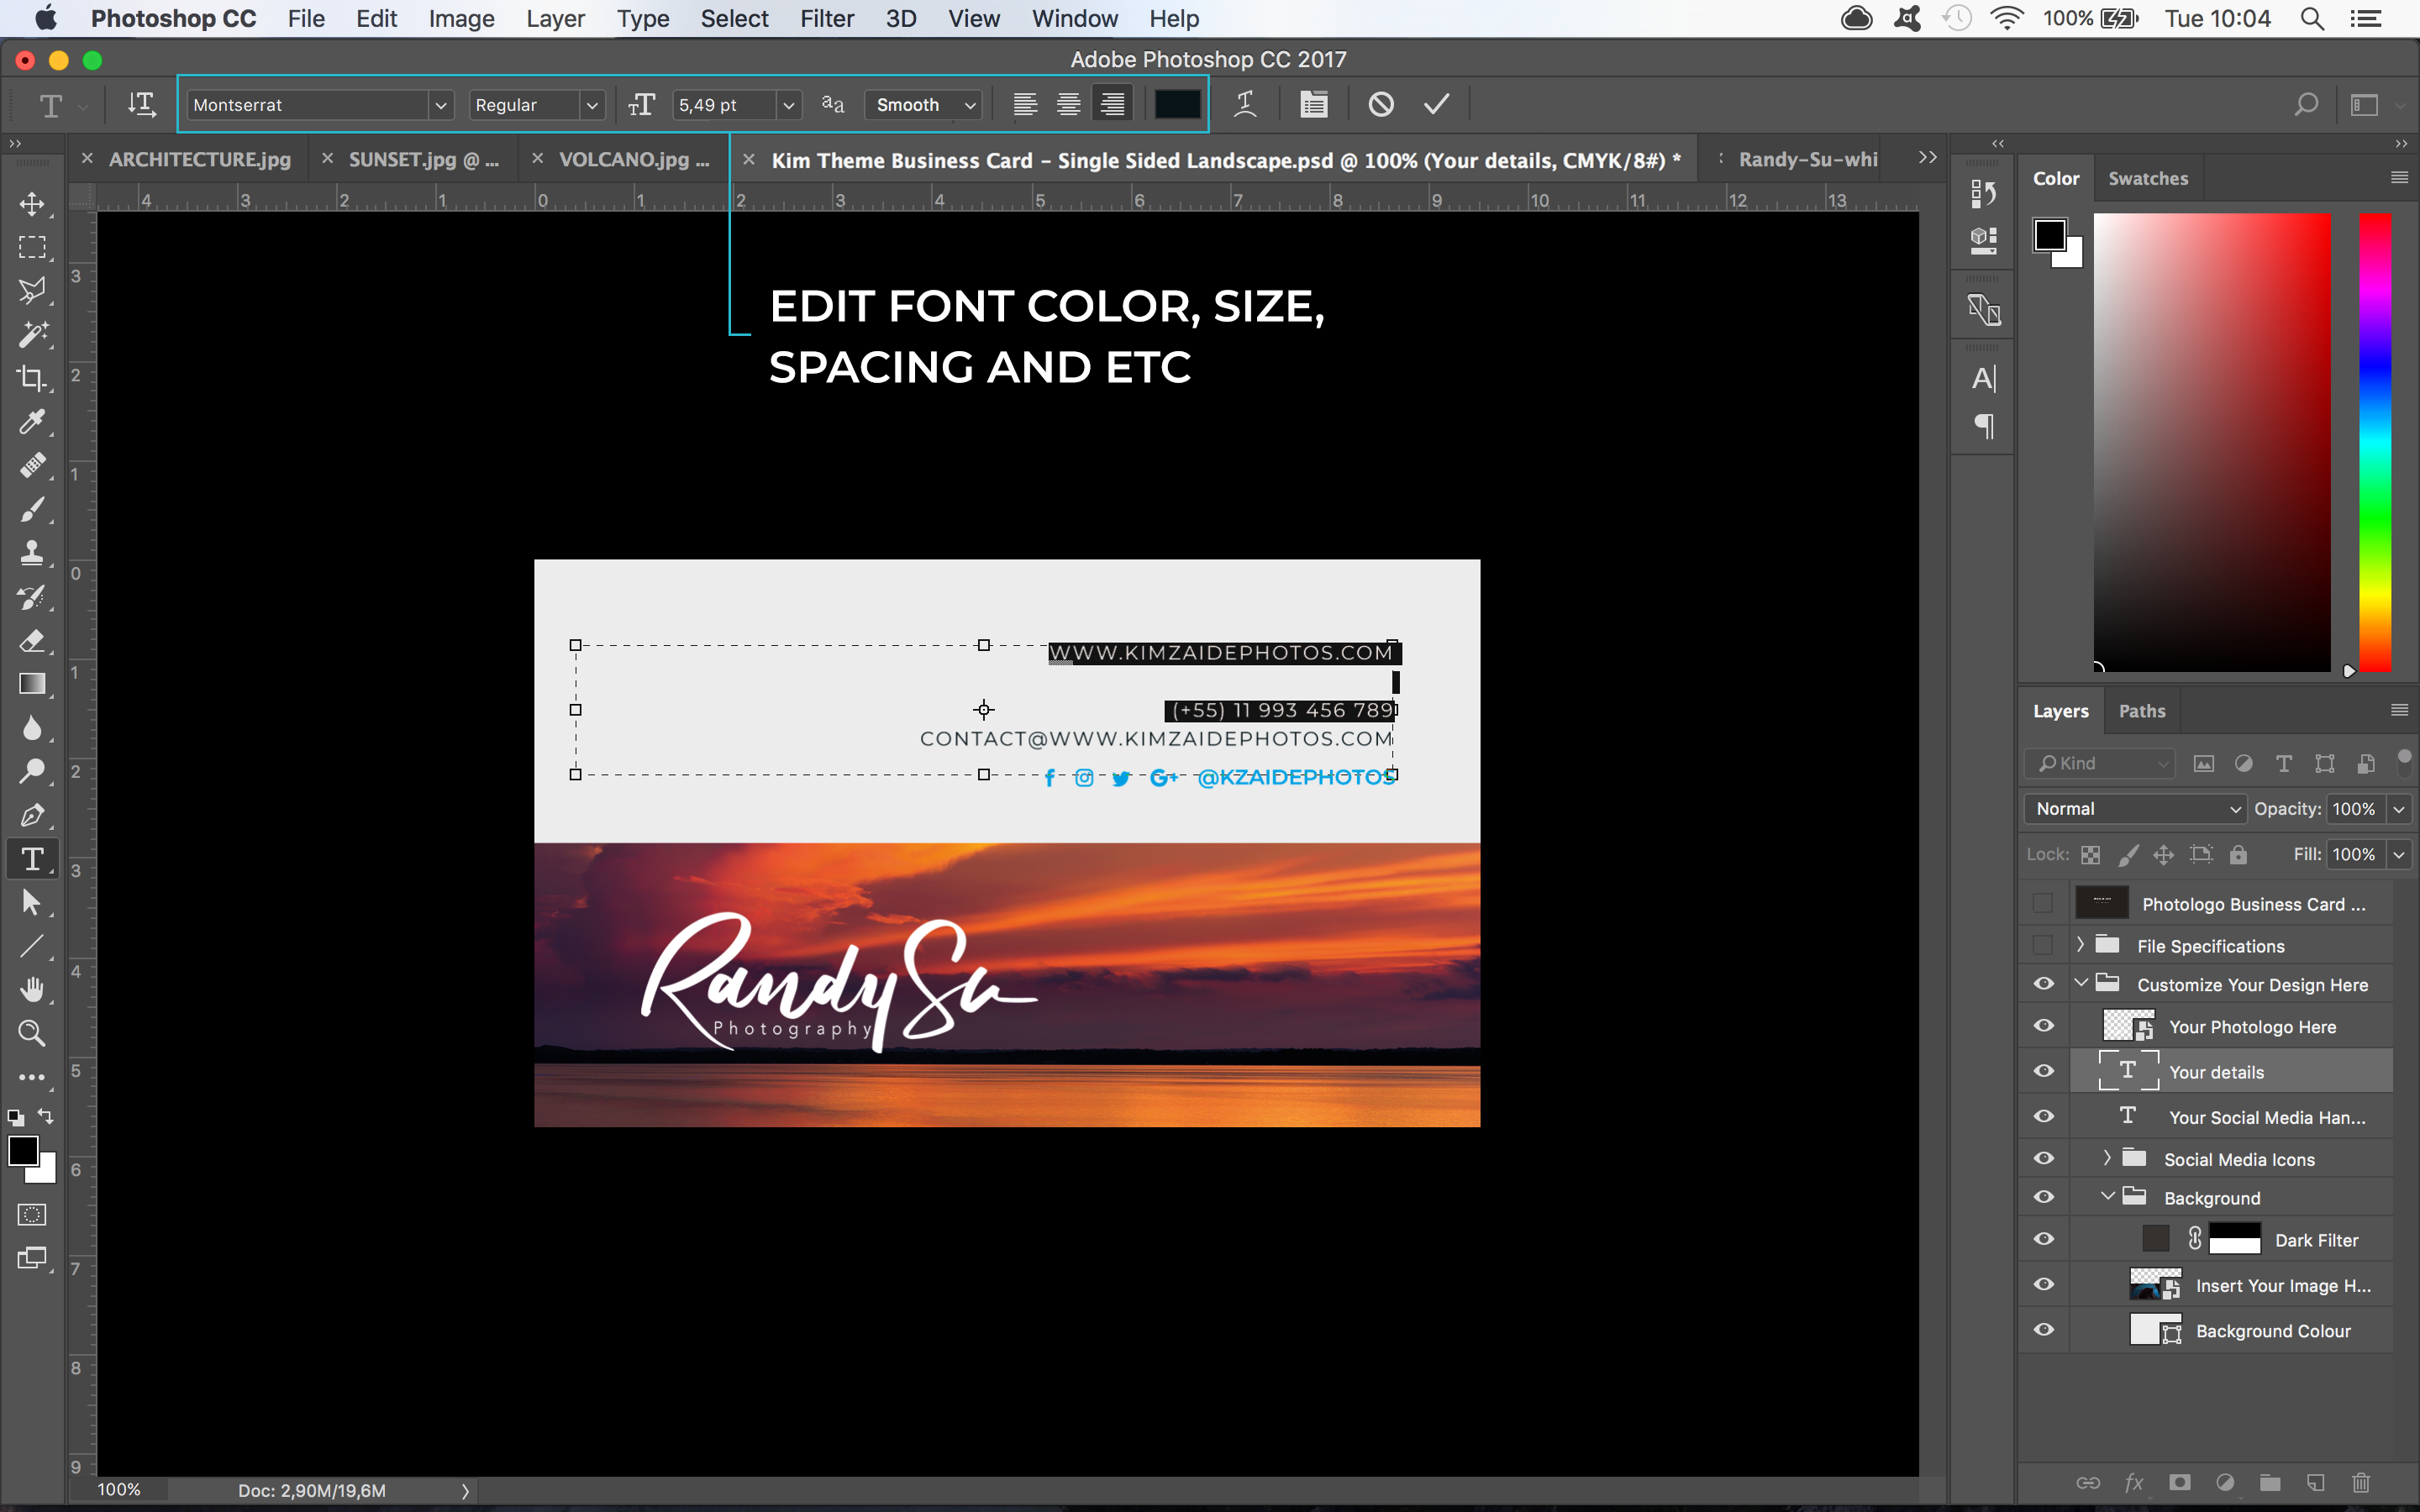
It’s finally time to insert yours or your business’ details.
Select the Text Tool and simply click on the text to be edited. On the top menu, you can choose a different font, change the color, make it bigger or smaller and set other parameters to make your design unique.
Step 6
Once you’re done editing your template, let’s export it.
First, press Crtl+S to save the latest version of your design.
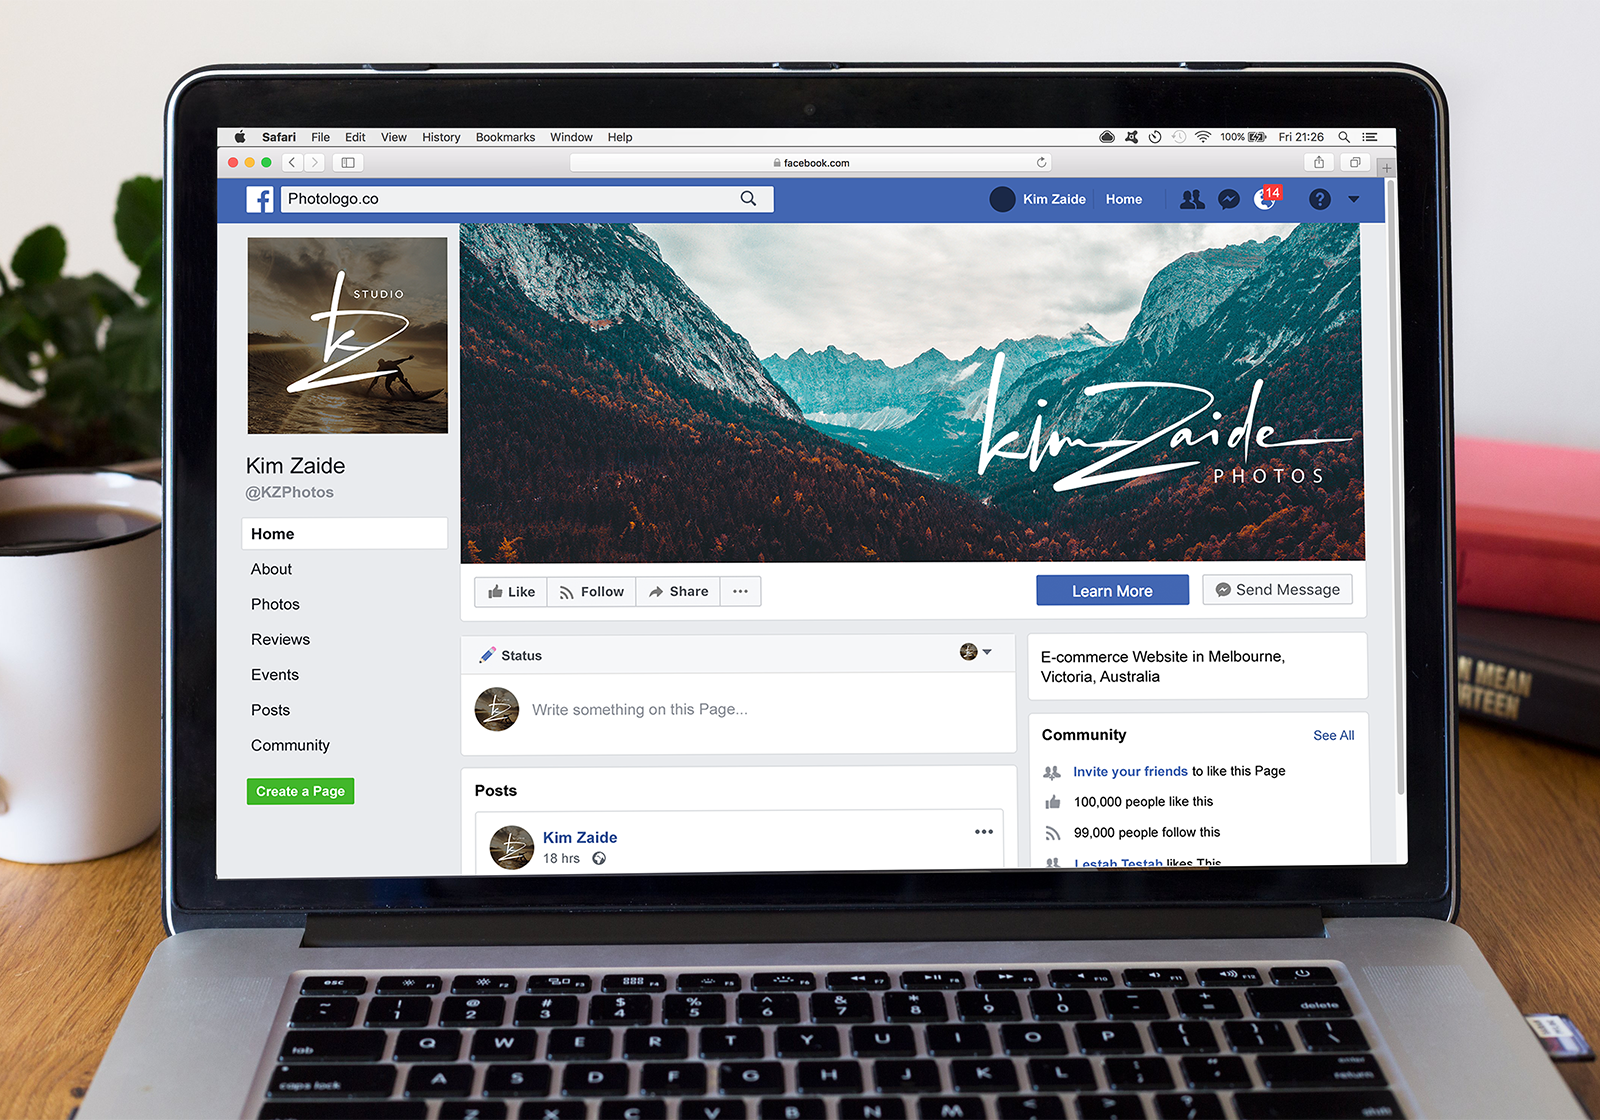
Then go to the upper menu and click File > Save As, and choose the required format, either by your printing provider or to share on your blog, website or social media.
Your file is ready to go!