Some photography trends will come and go, but for however long they are popular, it’s important that you stay on top of what’s cutting edge in the world of photography.
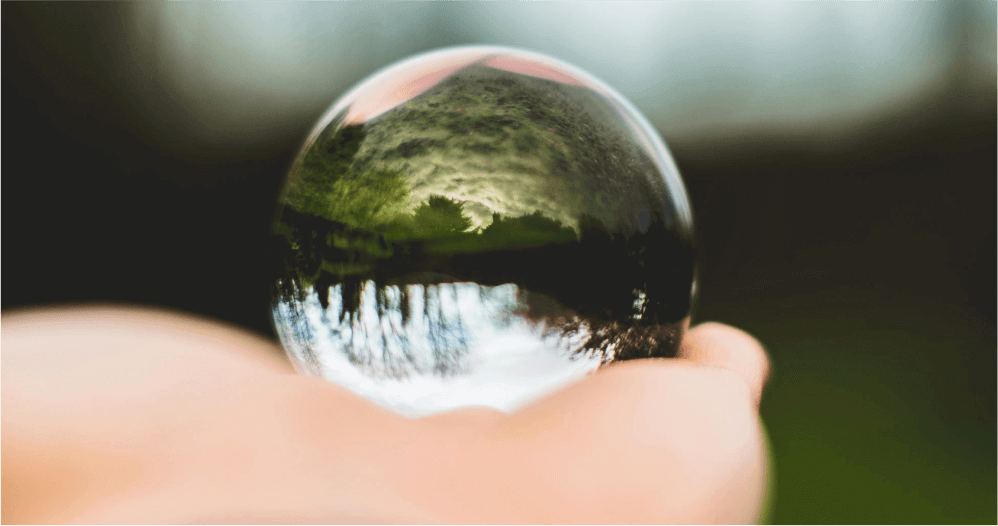
One such trend that has come into focus (photography puns are fun, aren’t they?) is the use of a crystal ball to bring out vibrant visuals of the subject in front of the camera.
Whether it be a cityscape or portrait, it’s worth experimenting with a crystal ball to see what unique shots you can come up with. Here’s 5 tips that can take you from rookie to rockstar in the world of crystal ball photos.
Getting Your Signature Logo:
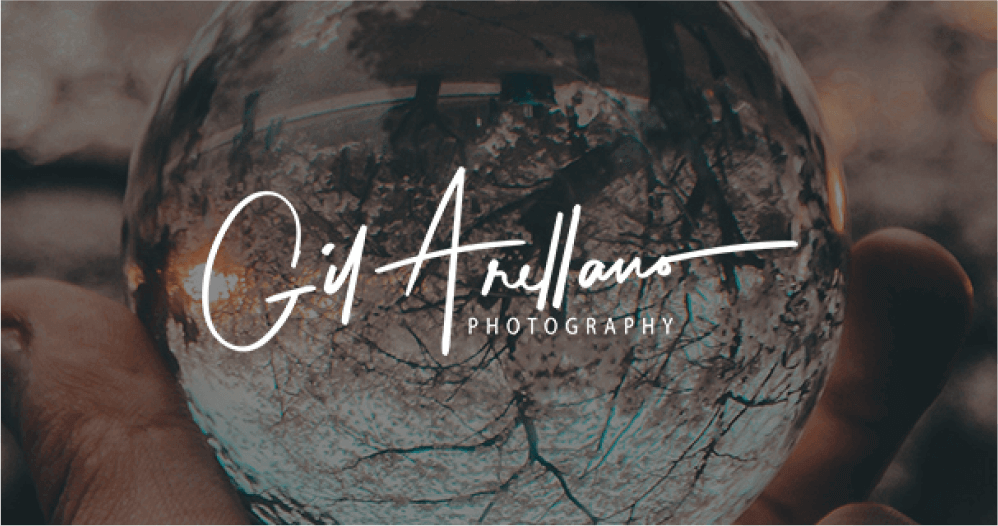
Hiring a calligrapher: once a pricey option (think $500+), can now be yours for just $39! Get yours crafted by a pro calligrapher in 2-3 days. Below are some examples from our studio. Click here to get your unique Signature Logo.


Use a Macro Lens
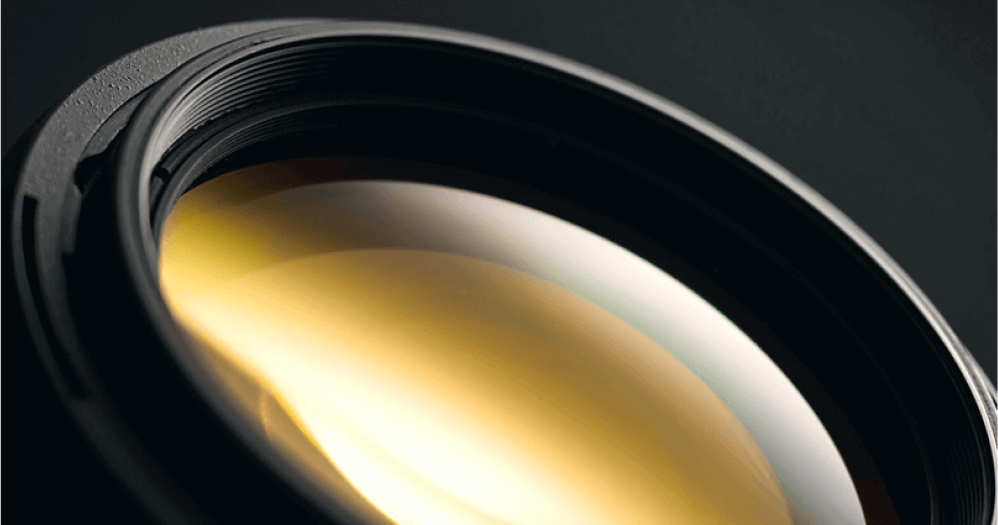
Using a macro lens will allow you to focus tightly on the crystal ball itself, rather than having it be just another piece of a widely framed image. While using the crystal ball, your goal is to highlight the way the ball refracts and bends the image, so if you’re not showing a clear focus on the ball, then you’ve missed the mark. The macro lens will allow you to bring out the best from this refracted visual, showcasing every detail that you’d hoped for.
Use the Power of Reflection to Get an Upright Image
When you take a picture through the “lens” of a crystal ball, the light will refract in such a way that the image will be flipped upside down. This could make for a magnificent shot in itself. But, if you’re looking to have your image facing in its natural direction, you can place the ball in water or possibly on a mirror to reflect the refraction, making the final shot be upright as you intended. To have your crystal ball showcase the unique image in the fish-eyed frame, but in its natural position, find a way to reflect the image by putting a reflective surface between the subject and the crystal ball.
Get Bokeh With It
There are a few ways that you can create a bokeh backdrop–one that is soft and blurred, leaving the foreground image in clear focus. This technique is ideal when using the crystal ball in your photos, since it will allow for the ball to be what draws the eyes into the image. The first thing to try is setting your lens to the lowest aperture value available on your camera. Cranking this down to its lowest value will decrease the depth of the field in front of you, leaving just the crystal ball in clear focus.
Secondly, maximize the distance between the subject of the photo and its background. By bringing the subject of the photo–whatever sits behind the crystal ball–closer to you, the depth of the background behind it will get blurrier and blurrier. Give both of these tricks a try and see how amazing the crystal balls image looks as it becomes the star of the photo.
Find a Stable Place for The Crystal Ball
You don’t want to try to hit a moving target when capturing a crystal ball photo. The more that it moves, the more the light will bounce and refract around its edges, making for less consistent images.
If you can find a stand or a solid resting place where you know it won’t roll away from you, you can focus on what you do best–capturing an amazing shot that your clients will love.
Watermark Your Images
You don’t want to try to hit a moving target when capturing a crystal ball photo. The more that it moves, the more the light will bounce and refract around its edges, making for less consistent images.
If you can find a stand or a solid resting place where you know it won’t roll away from you, you can focus on what you do best–capturing an amazing shot that your clients will love.
Getting Your Signature Logo:
Hiring a calligrapher: once a pricey option (think $500+), can now be yours for just $39! Get yours crafted by a pro calligrapher in 2-3 days. Below are some examples from our studio. Click here to get your unique Signature Logo.


