Certaines tendances de la photographie vont et viennent, mais pour aussi longtemps qu'elles soient populaires, il est important que vous restiez au fait des avancées du monde de la photographie.
Une de ces tendances (les jeux de mots sont amusants, n'est-ce pas?) Est l'utilisation d'une boule de cristal pour faire ressortir des images vibrantes du sujet devant la caméra.
Que ce soit un paysage urbain ou un portrait, il vaut la peine d'essayer une boule de cristal pour voir quels plans uniques vous pouvez réaliser. Voici 5 conseils qui peuvent vous mener de novice à rockstar dans le monde des photos de boule de cristal crystal.
Obtenir votre logo signature :
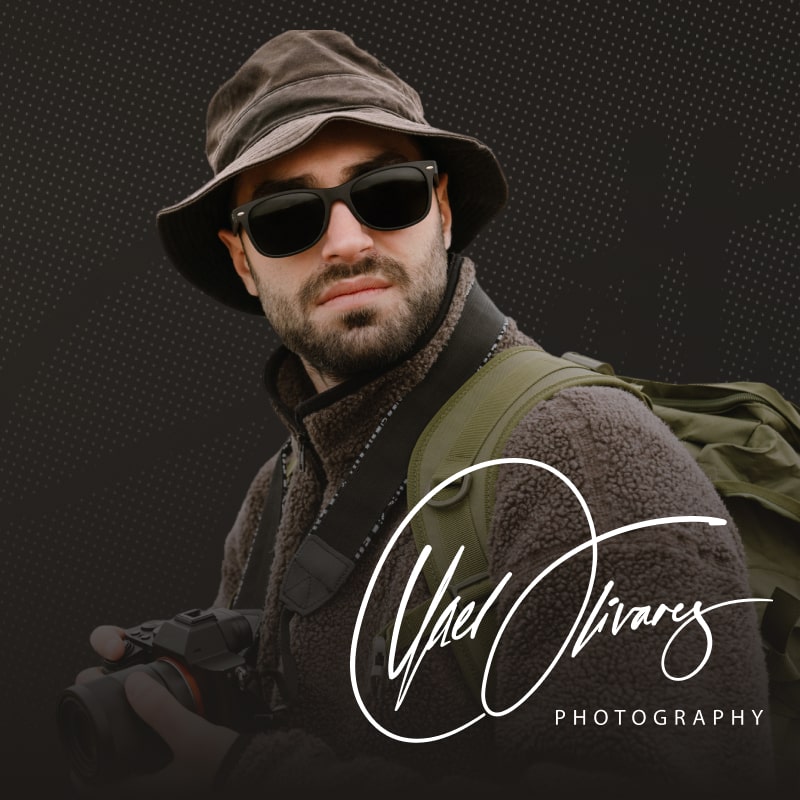
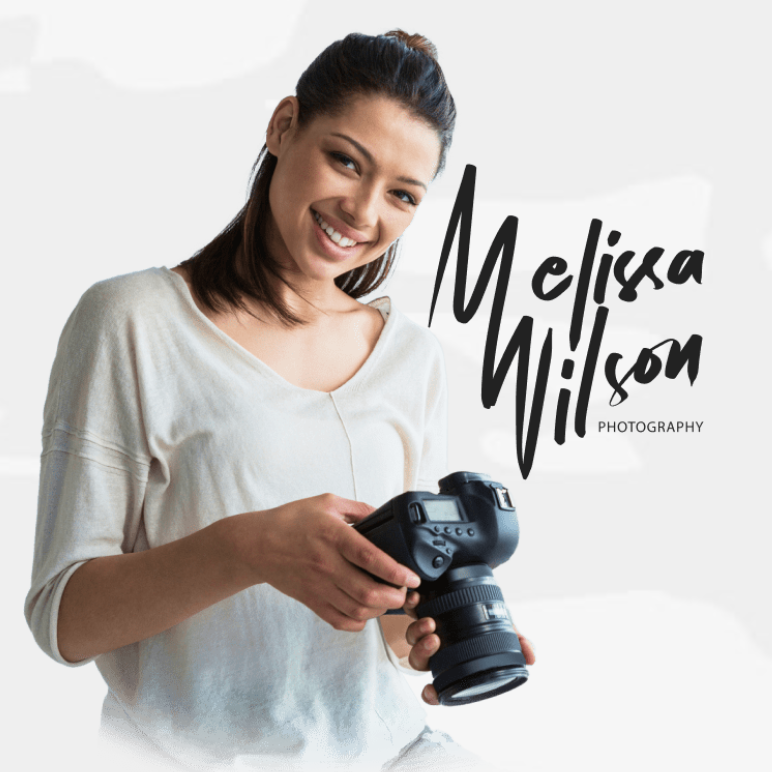
Embaucher un calligraphe : autrefois une option coûteuse (pensez à $500+), peut désormais être la vôtre pour seulement $39 ! Faites réaliser le vôtre par un calligraphe professionnel en 2-3 jours. Vous trouverez ci-dessous quelques exemples de notre studio. Cliquez ici pour obtenir votre logo signature unique.


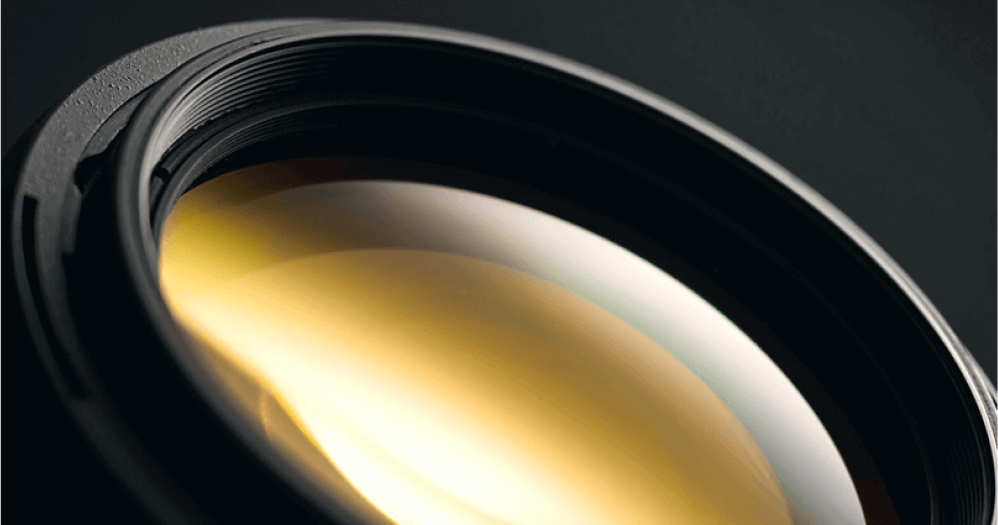
Utilisez un objectif macro
L'utilisation d'un objectif macro vous permettra de faire une mise au point précise sur la boule de cristal elle-même, plutôt que de la considérer comme un simple élément d'une image largement encadrée. En utilisant la boule de cristal, votre objectif est de mettre en évidence la façon dont la boule réfracte et courbe l'image. Si vous ne montrez pas une mise au point claire sur la boule, vous avez raté votre objectif. L'objectif macro vous permettra de faire ressortir le meilleur de ce visuel réfracté, en mettant en valeur tous les détails que vous espériez.
Utilisez le pouvoir de la réflexion pour obtenir une image verticale
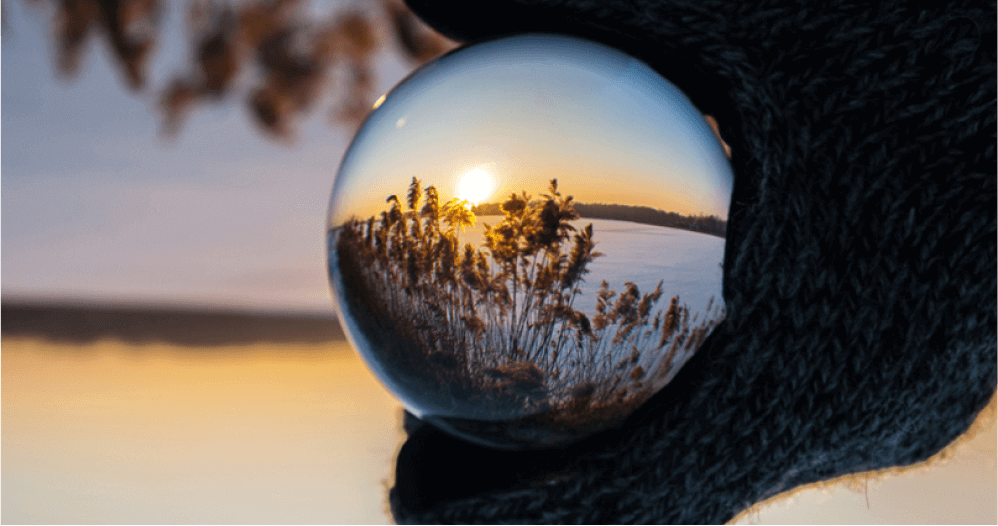
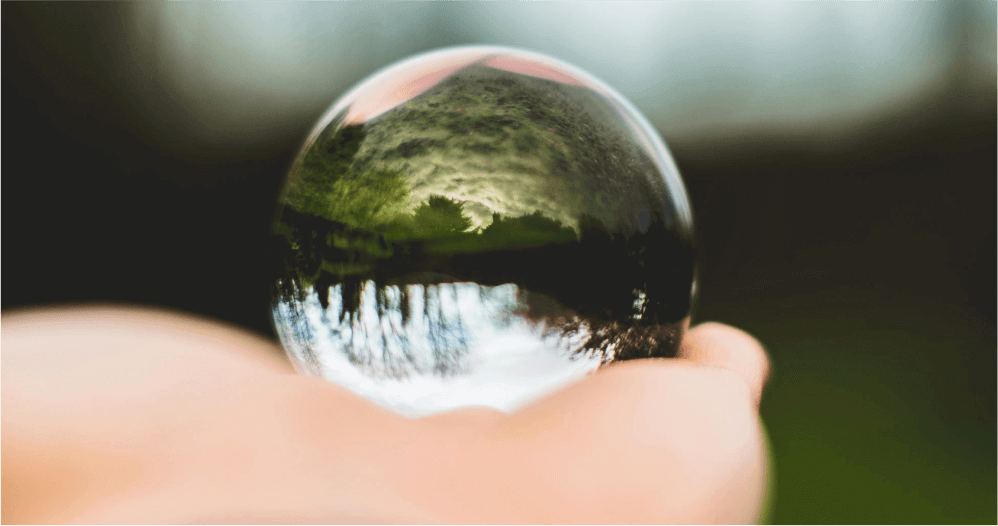
Lorsque vous prenez une photo à travers la « lentille » d’une boule de cristal, la lumière se réfracte de telle manière que l’image est retournée. Cela peut donner lieu à une magnifique photo en soi. Mais si vous souhaitez que votre image soit orientée dans sa direction naturelle, vous pouvez placer la boule dans l’eau ou éventuellement sur un miroir pour refléter la réfraction, ce qui fera que la photo finale sera verticale comme vous le souhaitiez. Pour que votre boule de cristal présente l’image unique dans le cadre en œil de poisson, mais dans sa position naturelle, trouvez un moyen de refléter l’image en plaçant une surface réfléchissante entre le sujet et la boule de cristal.
Obtenez Bokeh avec elle
Il existe plusieurs façons de créer un arrière-plan bokeh : un arrière-plan doux et flou, laissant l’image au premier plan bien nette. Cette technique est idéale lorsque vous utilisez la boule de cristal dans vos photos, car elle permet à la boule d’attirer le regard vers l’image. La première chose à essayer est de régler votre objectif sur la valeur d’ouverture la plus basse disponible sur votre appareil photo. En réduisant cette valeur à sa valeur la plus basse, vous diminuerez la profondeur de champ devant vous, laissant uniquement la boule de cristal bien nette.
Deuxièmement, maximisez la distance entre le sujet de la photo et son arrière-plan. En rapprochant le sujet de la photo (ce qui se trouve derrière la boule de cristal) de vous, la profondeur de l’arrière-plan derrière lui deviendra de plus en plus floue. Essayez ces deux astuces et voyez à quel point l’image de la boule de cristal est étonnante lorsqu’elle devient la star de la photo.
Trouver un endroit stable pour la boule de cristal
Vous ne voulez pas essayer de toucher une cible en mouvement lorsque vous capturez une photo de boule de cristal. Plus il bouge, plus la lumière va rebondir et se réfracter sur ses bords, ce qui rend les images moins cohérentes.
Si vous pouvez trouver un stand ou un lieu de repos solide où vous savez qu'il ne roulera pas loin de vous, vous pouvez vous concentrer sur ce que vous faites le mieux: capturer une photo étonnante que vos clients vont adorer.
Filigrane vos images
Vous ne voulez pas essayer de toucher une cible en mouvement lorsque vous capturez une photo de boule de cristal. Plus il bouge, plus la lumière va rebondir et se réfracter sur ses bords, ce qui rend les images moins cohérentes.
Si vous pouvez trouver un stand ou un lieu de repos solide où vous savez qu'il ne roulera pas loin de vous, vous pouvez vous concentrer sur ce que vous faites le mieux: capturer une photo étonnante que vos clients vont adorer.
Obtenir votre logo signature :
Embaucher un calligraphe : autrefois une option coûteuse (pensez à $500+), peut désormais être la vôtre pour seulement $39 ! Faites réaliser le vôtre par un calligraphe professionnel en 2-3 jours. Vous trouverez ci-dessous quelques exemples de notre studio. Cliquez ici pour obtenir votre logo signature unique.


